Path of Exile 2: Mastering the Ascent to Power Quest – A Comprehensive Guide
Path of Exile 2's intricate Ascendancy system significantly impacts gameplay. Unlocking your first Ascendancy requires completing the Ascent to Power quest in Act 2. This guide details how to initiate and conquer this challenging quest, including the Trials of the Sekhemas.
Starting the Ascent to Power Quest
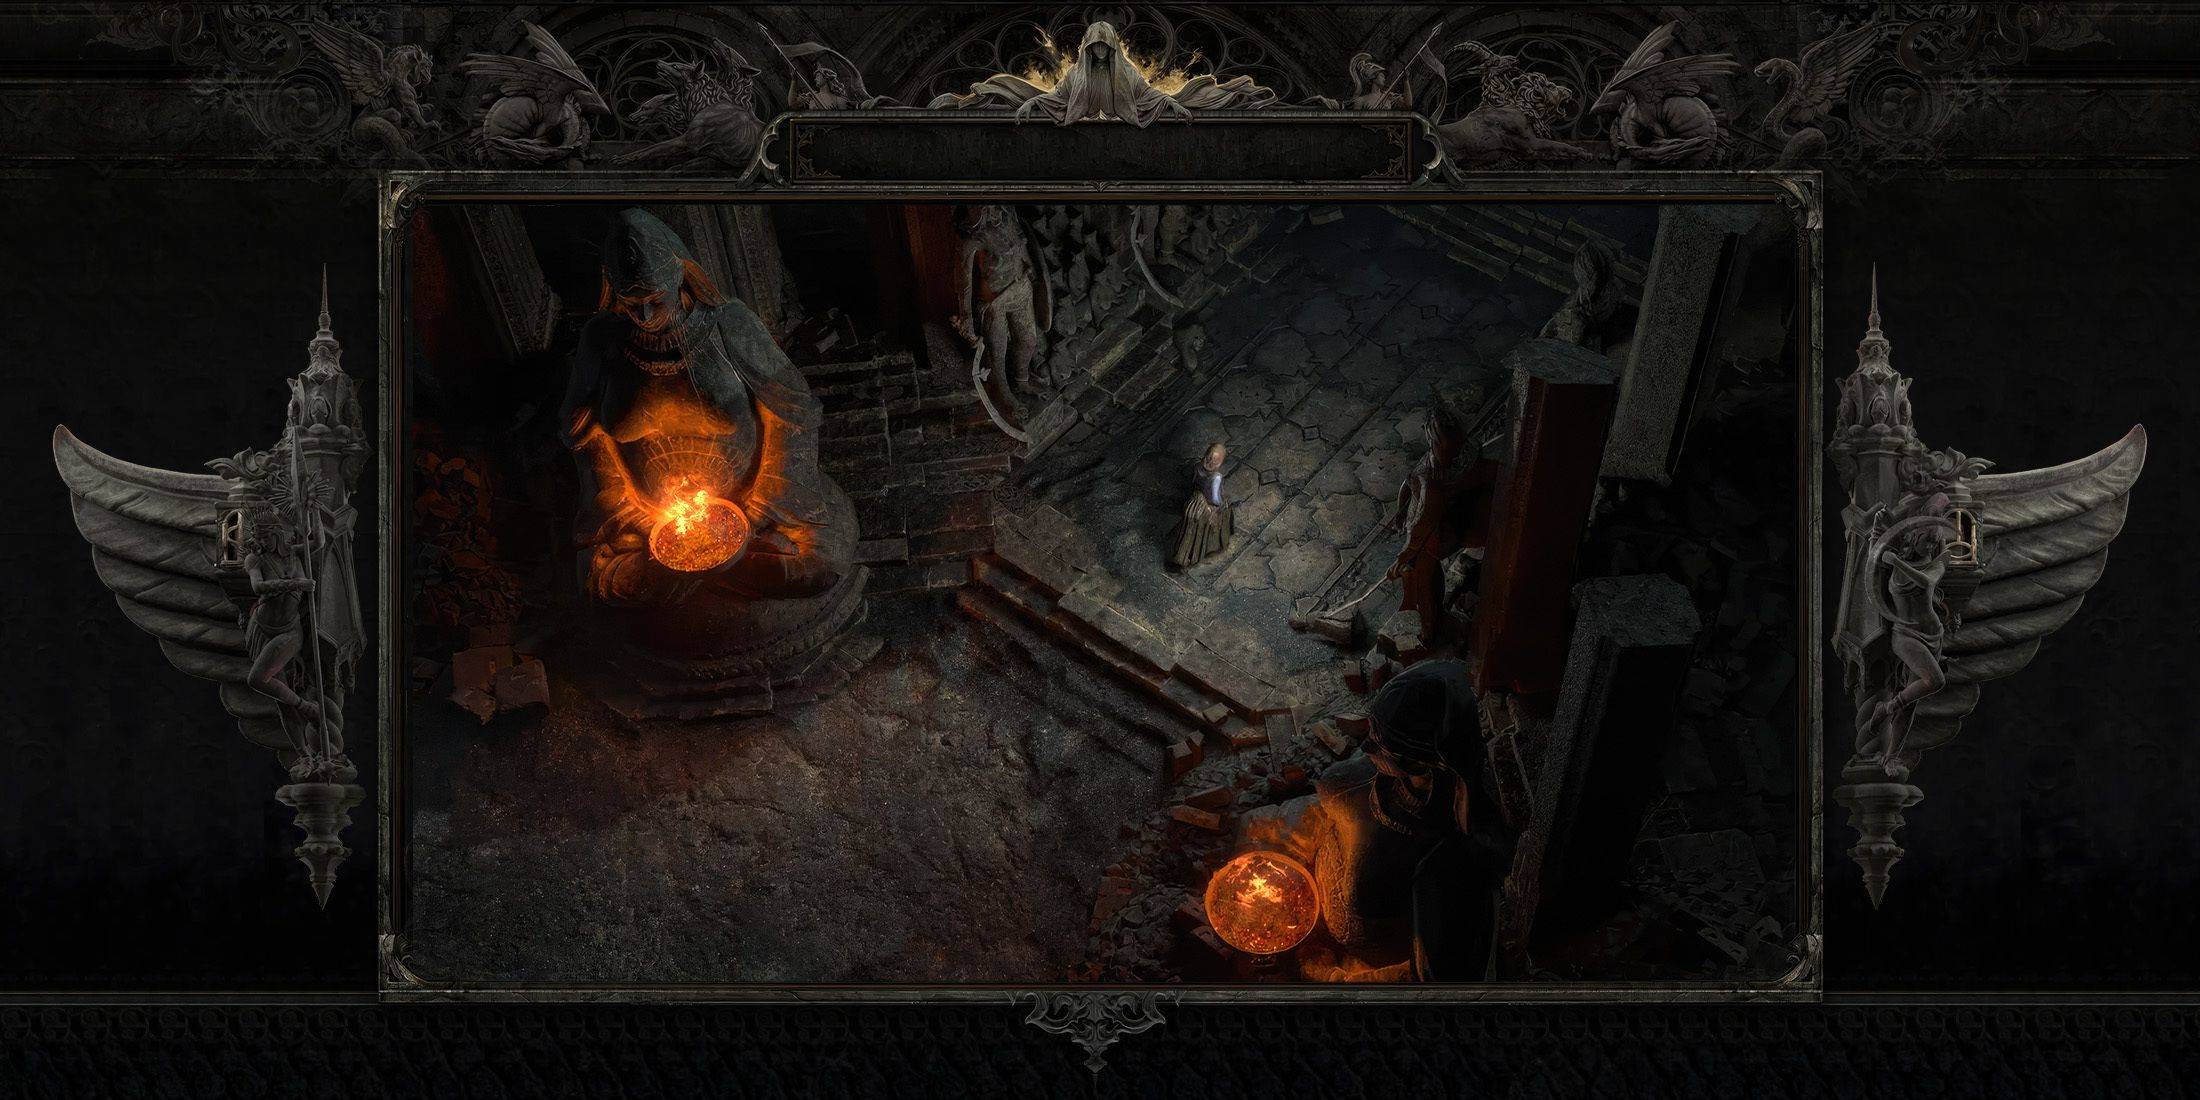
Once you unlock the Ardura Caravan in Act 2, explore the two initial location nodes. Before reaching the third node, Traitor's Passage, speak with Zarka. She'll direct you to Balbala, a trapped Djinn, to gain power.
Balbala's location within Traitor's Passage is randomized due to the game's procedural generation, but she'll generally be found near the end. Locate the Ancient Seal Door leading to her prison. To initiate the encounter, deactivate three seals and await the cutscene before engaging Balbala.
Defeating Balbala the Traitor
Balbala resists Fire Damage and inflicts Physical, Chaos, and Fire damage, along with Poison and Ignition ailments. Exploit her weakness to Cold Damage for optimal results. While not overly complex, mastering her mechanics may require a few attempts. Here's a breakdown of her attacks and counter strategies:
- Slash Attack: A basic attack easily blocked or dodged. Save your Energy Shield for more dangerous attacks. May inflict Burning or Poison.
- Throwing Attack: Ranged version of the slash attack; dodge or block. Each dagger hit applies Poison.
- Whirling Dash Attack: A fast lunge with an explosive AoE detonation after 1.5 seconds. Dodging is crucial; the voice cue is "Face Me!" or "Na'kai!".
- Teleport Dagger Attack: Balbala teleports and throws daggers creating an AoE. Dodge to avoid damage. Voice cue: "Atul!".
- Summon Shadow Clone: Balbala throws a Barya (coin), creating a yellowish AoE. Quickly step over it to prevent a Balbala clone from spawning. Stepping on it triggers a teleport and slam attack.
- Teleport Slam: After the summoning circle, Balbala teleports and yells "Tithe!", creating a fiery AoE that must be dodged.
- Summon Poison Mist/Vanish: Balbala vanishes (voice cues: "Visions of Jarah!" or "Mists of Sulamith!") summoning poisonous mist. Quickly locate and attack her to interrupt the channeling. She'll yell "Sands of Wrath!" or "Darakatha!" upon being found, unleashing a dodgeable AoE slam.
- Explosive Blade Rain: (Late-game) Balbala throws explosive daggers in a counterclockwise conical pattern. Dodge accordingly.
- Blade Storm: (If the Shadow Clone isn't eliminated promptly) Balbala summons a swirling blade storm, hindering dodging. Prioritize eliminating clones to prevent this.
After defeating Balbala, take Balbala's Barya to Zarka, who will reveal the location of the Trials of the Sekhemas.
Completing the Trials of the Sekhemas
Travel from the Ardura Caravan to the Trials of the Sekhemas node. Initially, you'll need to command the caravan to move to the Sekhemas map. Unlock the Waypoint and approach the altar where Balbala will explain the trial's objective.
The procedurally generated dungeon features various challenges per room: timed challenges, traps, and elite enemies. Before entering, use a Relic for a boon.
The Trials introduce "Honor" and "Sacred Water":
- Killing enemies yields Sacred Water, used to purchase boons, keys, and recover Honor.
- Taking damage reduces Honor.
- Reaching 0 Honor results in failure.
- Remaining Honor is exchanged for Sacred Water at the end.
- Sacred Water buys keys to open chests.
- Honor is preserved between trials (important for Cruel difficulty).
Energy Shield drain doesn't affect Honor, giving Energy Shield builds an advantage. Each completed section grants a boon and a curse.
Trial types include:
- Chalice Trial: Defeat two bosses.
- Escape Trial (timed): Defuse death crystals before time runs out.
- Gauntlet Trial: Avoid traps and find levers.
- Hourglass Trial (timed): Survive enemy waves until time runs out.
- Ritual Trial: Kill summoners and their summoned beasts.
- Boss Trial: Rattlecage (Tier 1), Terracota Sentinels (Tier 2), Ashar (Tier 3), Zarokh (Tier 4).
Balancing boon/curse choices and preserving Honor is key. Rattlecage, the Earthbreaker, is a particularly challenging boss; high Fire Resistance is recommended.
Completing Ascent to Power
Defeating Rattlecage unlocks the final altar where you choose your first Ascendancy. The choice is permanent.
For Cruel difficulty, a workaround exists due to a bug:
- Talk to Zarka.
- Defeat Balbala in Cruel (ensure the coin shows "Number of Trials 2").
- Return to Act 2 Normal, enter the Trials using the two-trial coin.
- Complete two trials consecutively to gain 2 additional Ascendancy Points.
Note: Only the first Normal and Cruel runs grant Ascendancy Points. The Trial of Chaos in Act 3 (Normal and Cruel) provides the remaining 4 points (for a total of 8). Reaching 0 Honor means failure, but the first Djinn Barya is a quest item. Subsequent tries consume the Barya.